General Site Features
You will see the use of new structures throughout the site, such as overlays and dynamic tables.
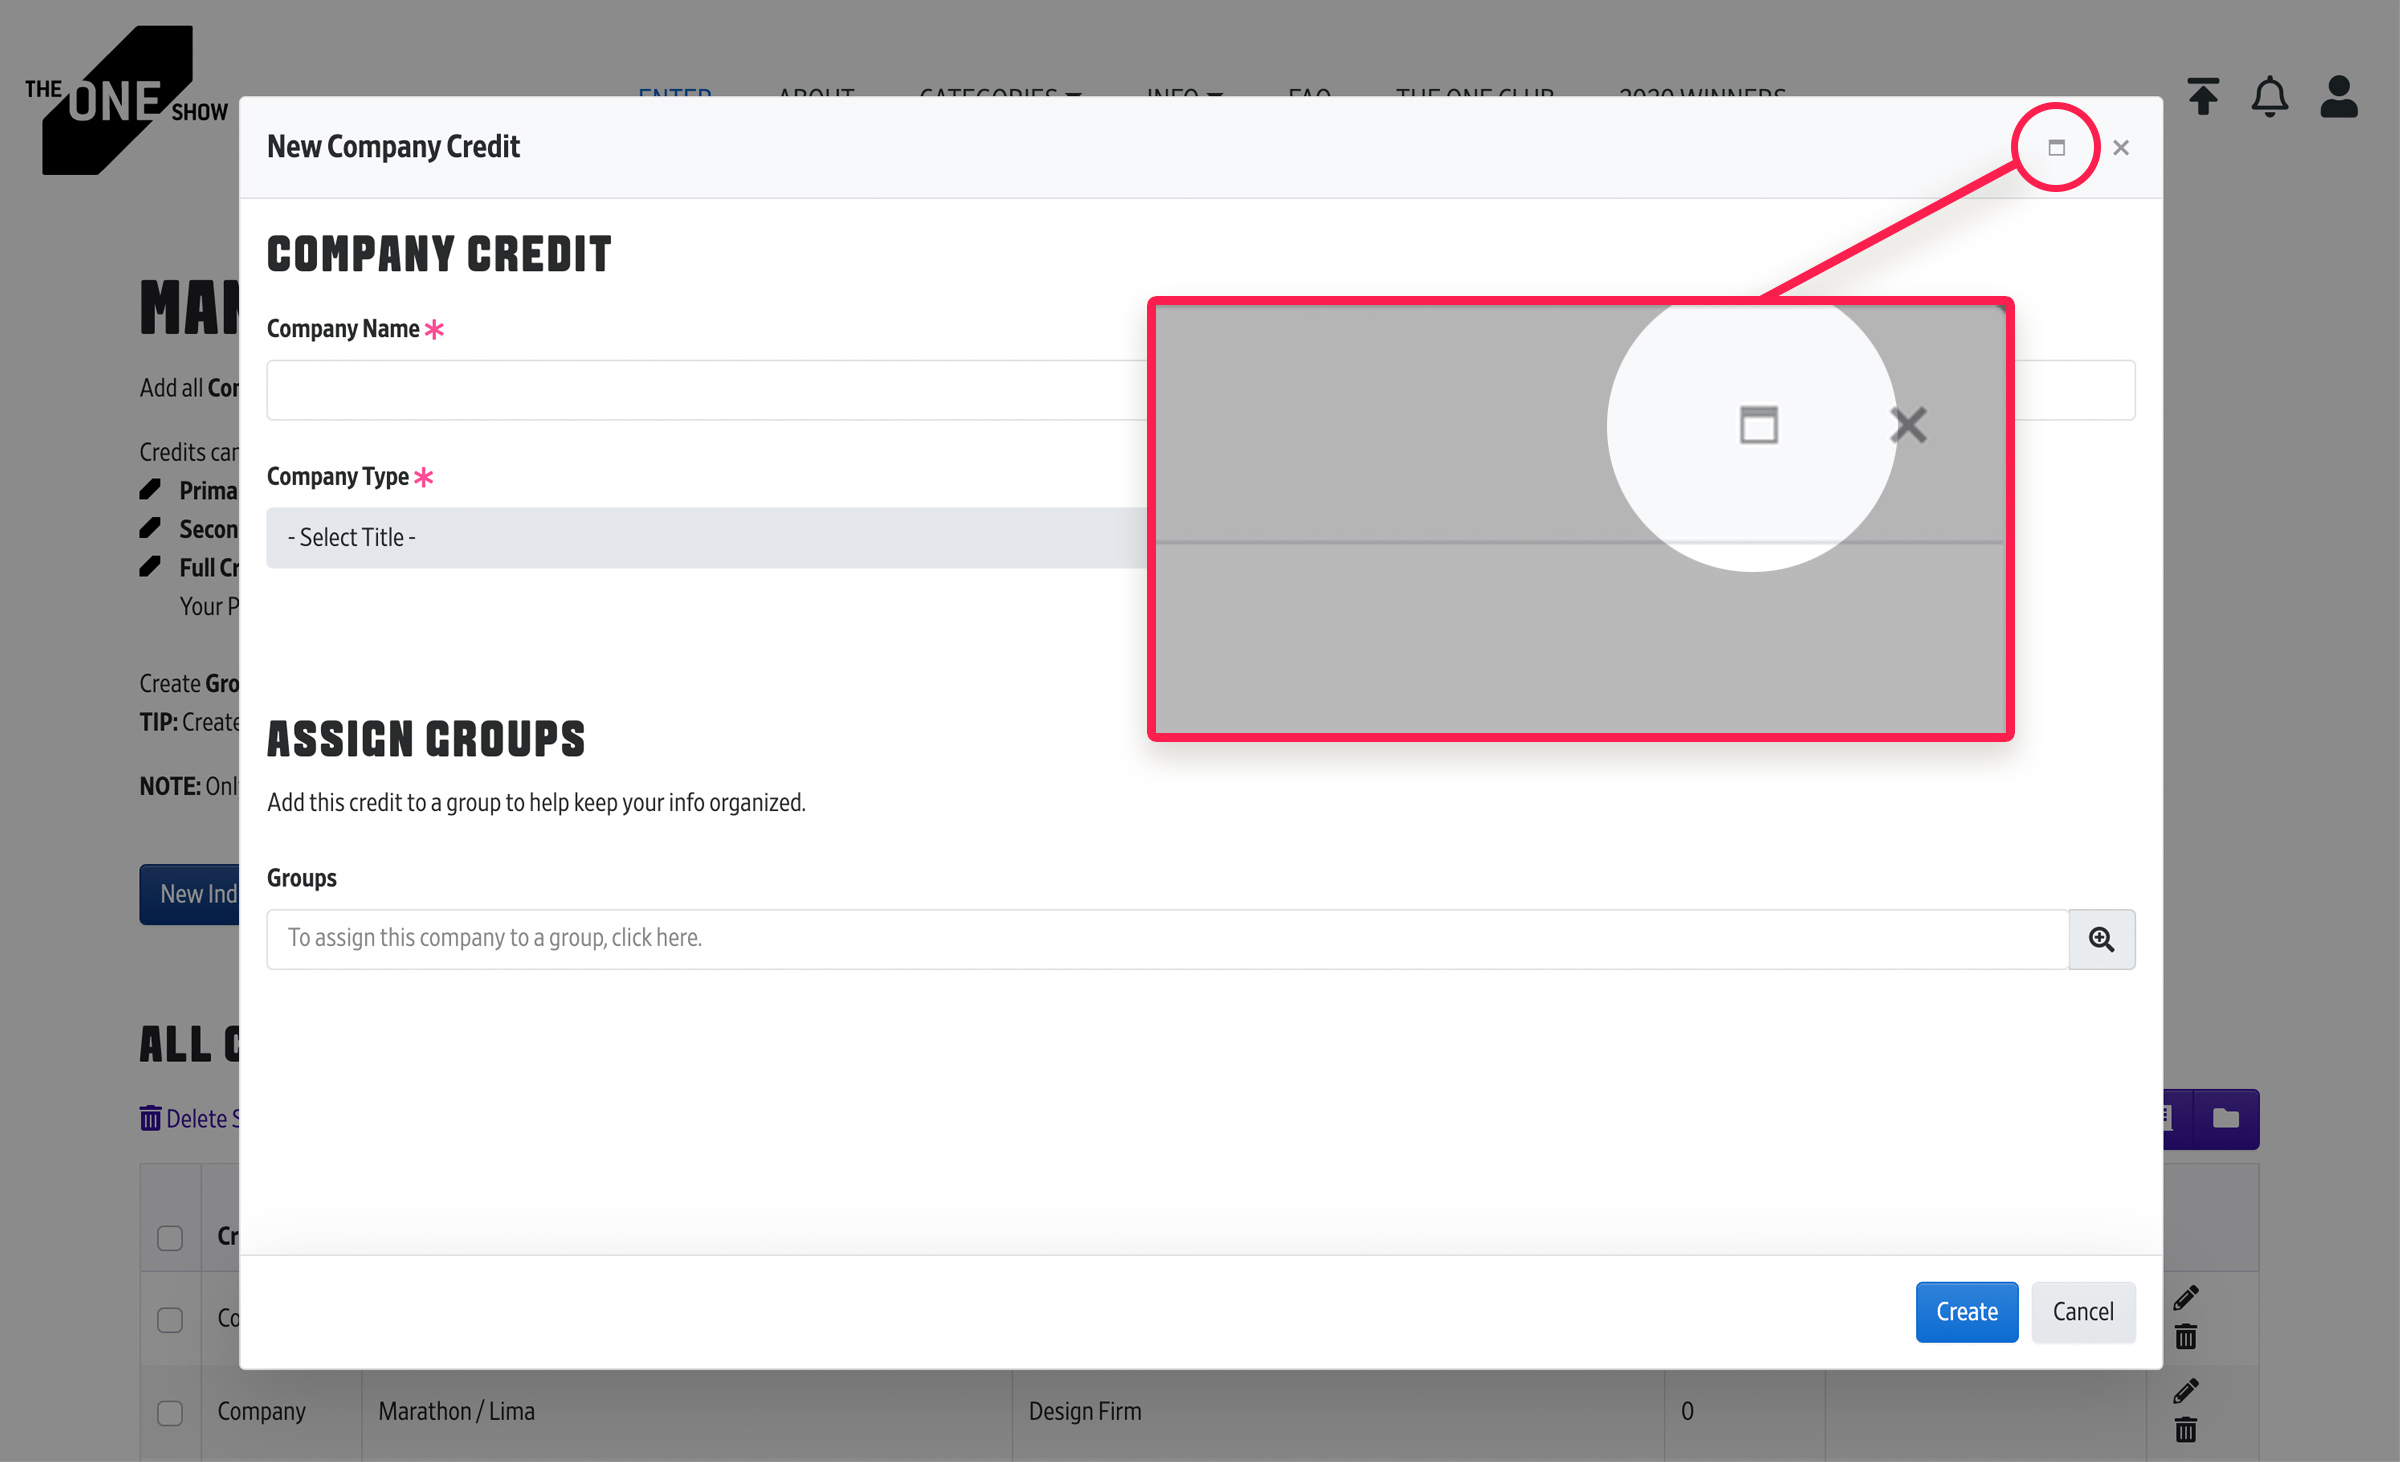
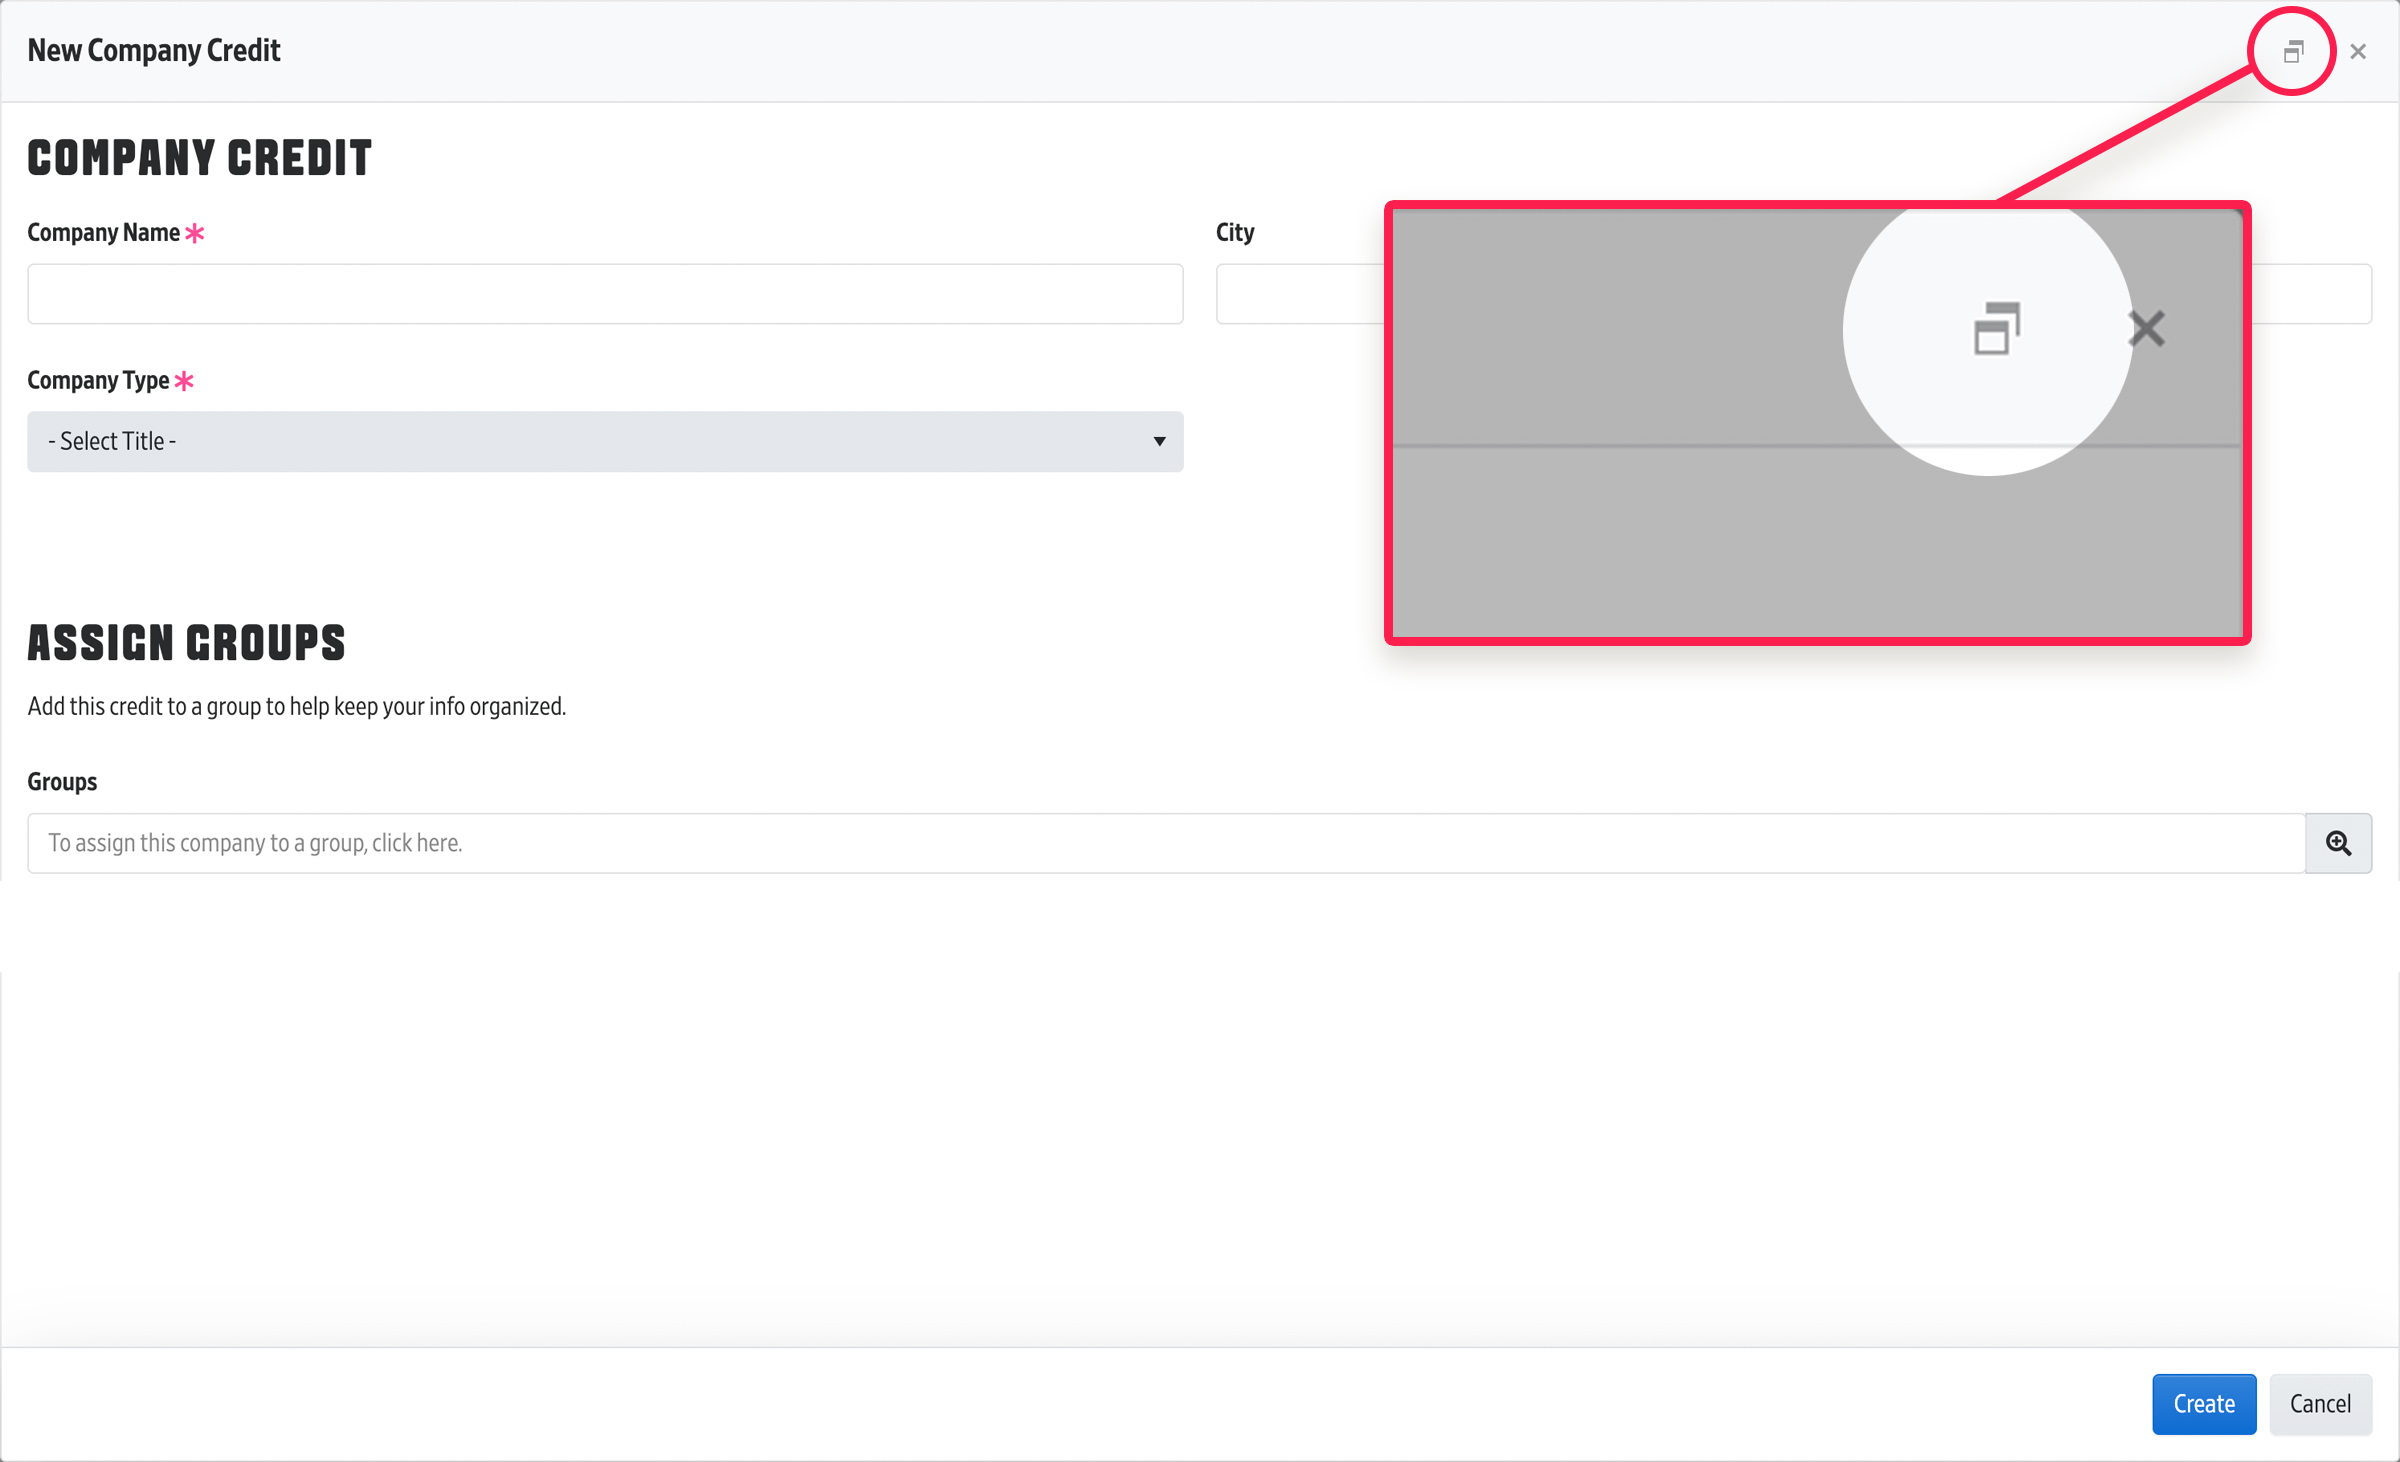
When working with your entries and other elements in your account, you will see a lot of overlays. If you prefer to see things bigger, you can make the screen larger using the expand icon in the upper right corner. It can be reduced to the smaller overlay by clicking this icon again.
Interactive Tables
Your Media, Credits, and Entry lists utilize dynamic tables with interactive features.
FILTER & SEARCH

- Use the Filter to reduce the items in your list based on specific factors. Only those options that will apply to items in your list will show. You can select one or multiple filters.
- Use the Search to look for specific words in your list.
- NOTE: You can apply both Filters and a Search together.
NOTE: You can remove any applied searches or filters with the "X" on each one on the left.
SORT
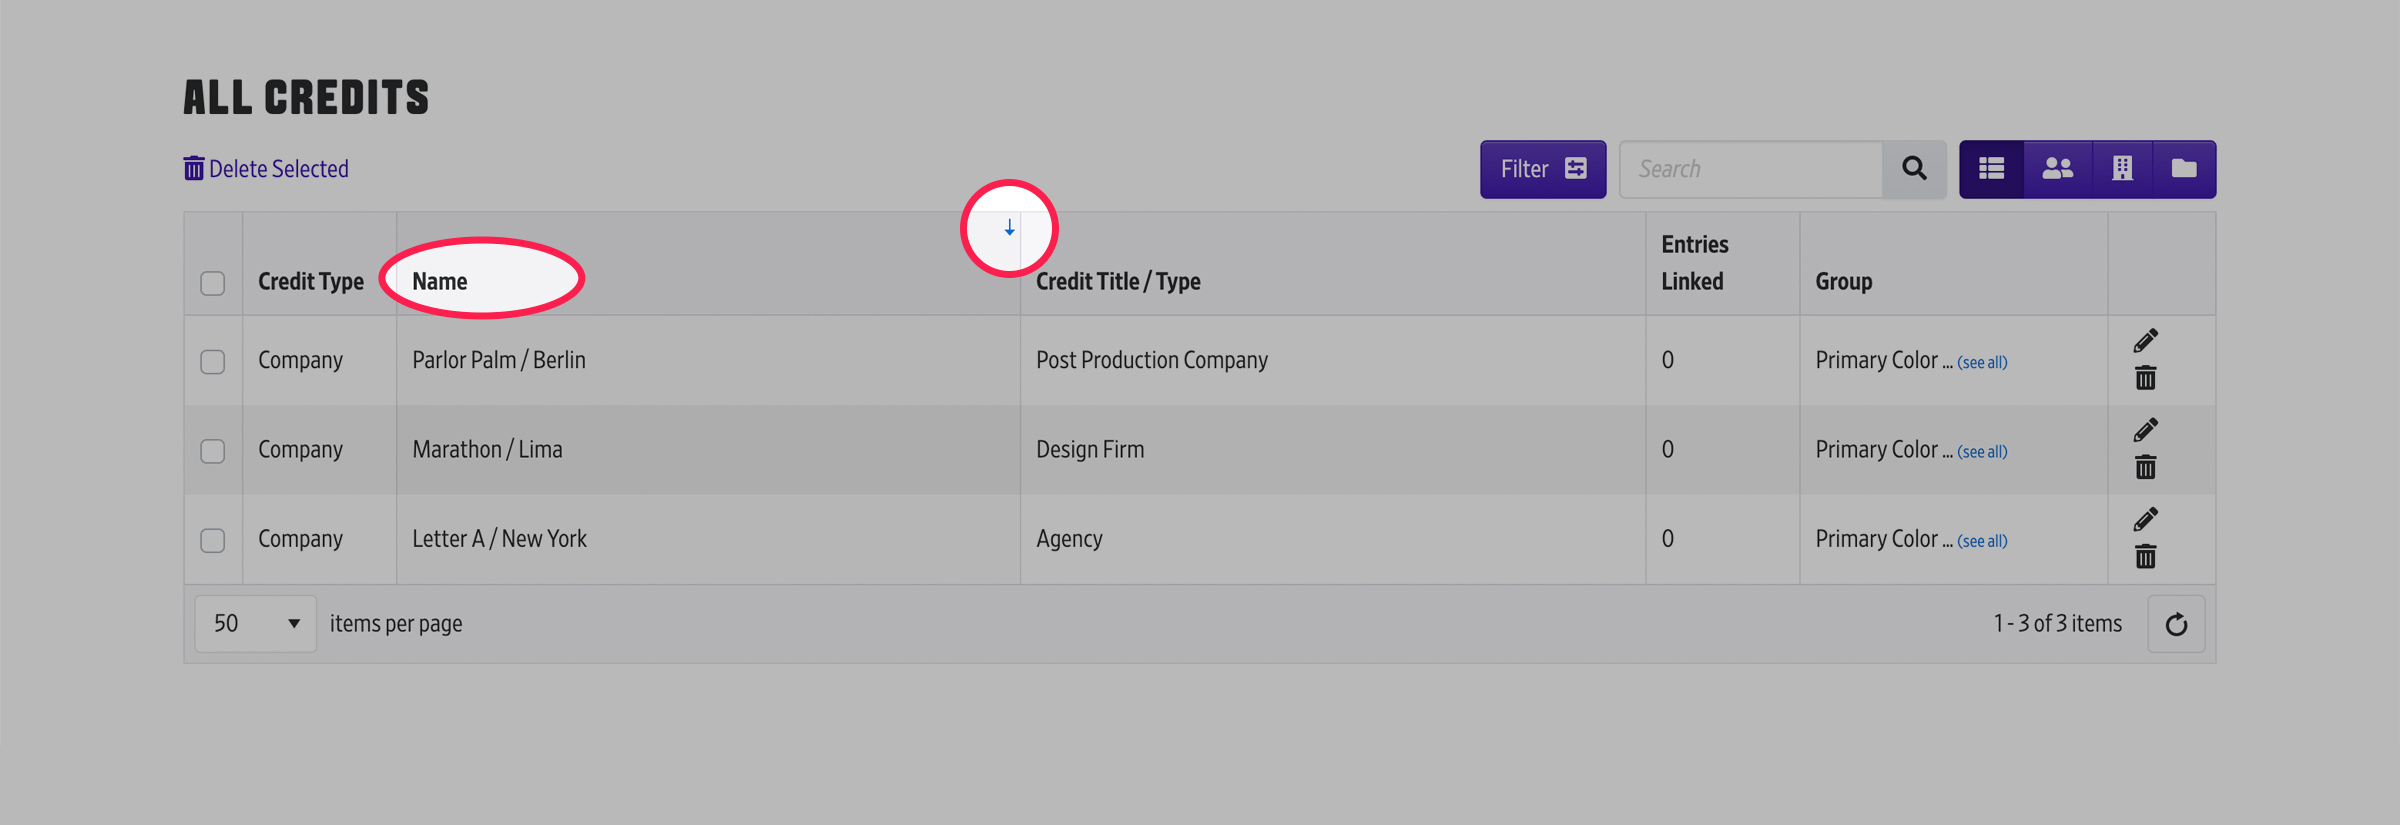
- Click the top of a column to sort your list by that field.
- An arrow will appear to show you how your list is currently being sorted.
- Click once for ascending order, again for descending order, and a third time to remove the sort.
BACK TO TOP
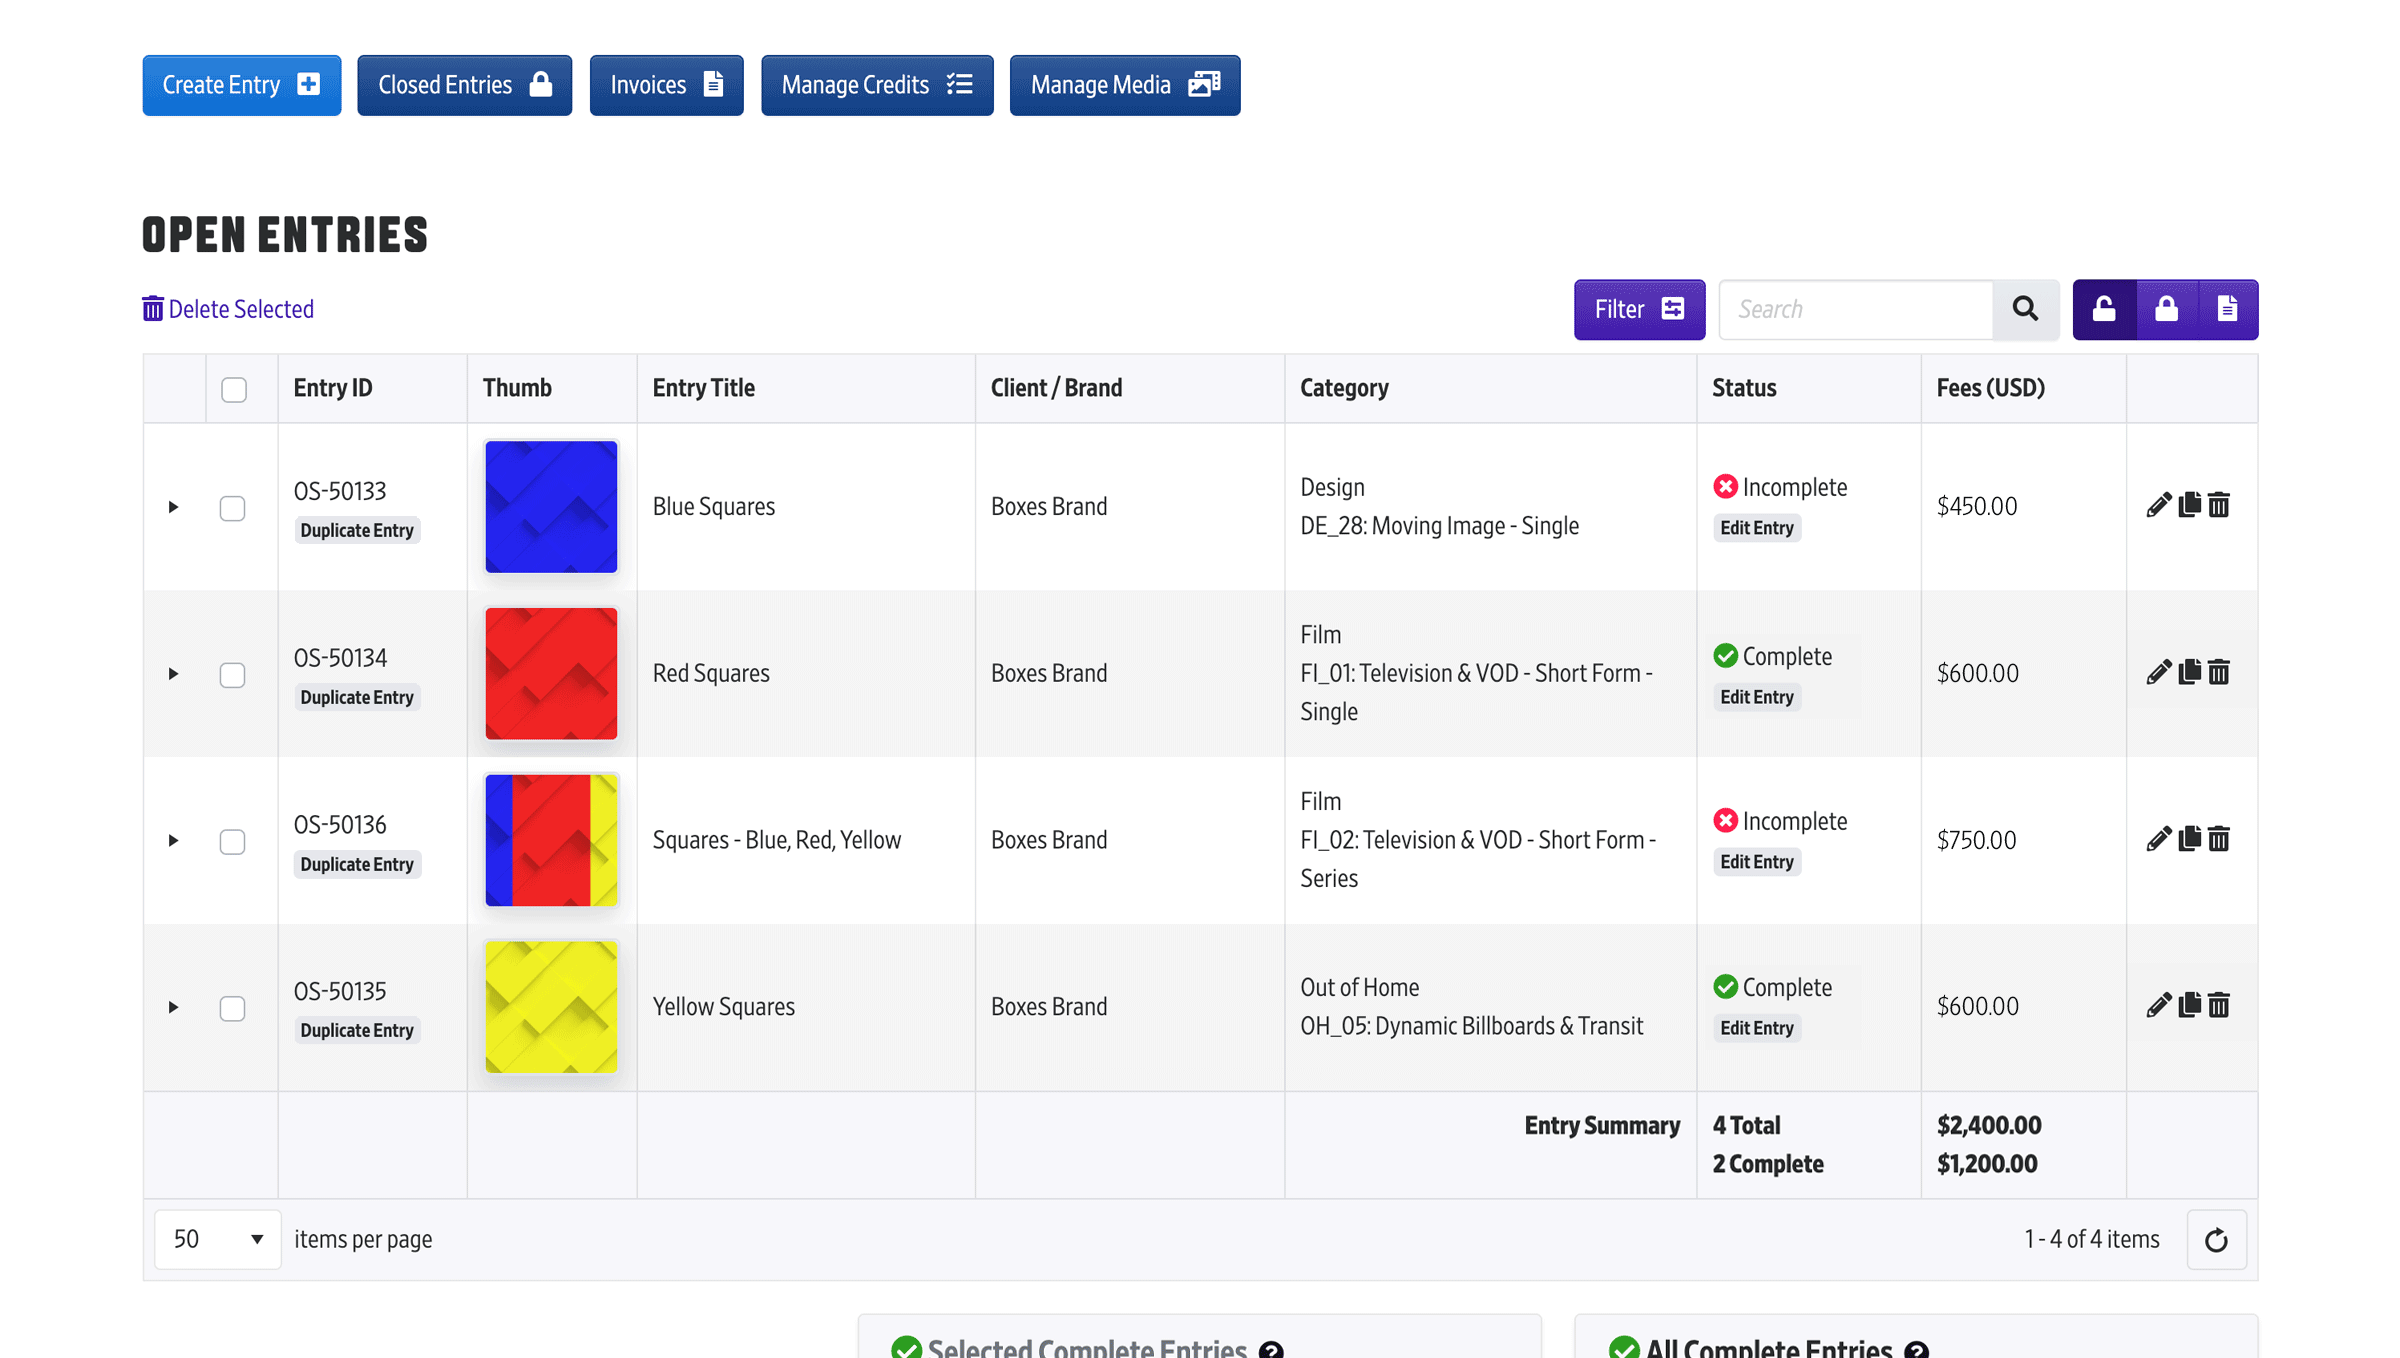
Using Your Entry List
After you've created an entry, you can make edits from your Open Entries page.
All fields marked with  must be fulfilled to complete and submit your entry.
- Click the Edit icon on an entry to open and view all information for that entry.
- Once opened, you can edit each section on your entry in this overlay.
- NOTE: Each section must be saved.
Edit Entry In Table
- Click the triangle on the left of your entry to expand it in your list.
- You can use the tabs to view each section for your entry. Click that section's edit icon to make any changes.
- NOTE: Clicking your Entry ID or Status on the entry will also expand it.

BACK TO TOP
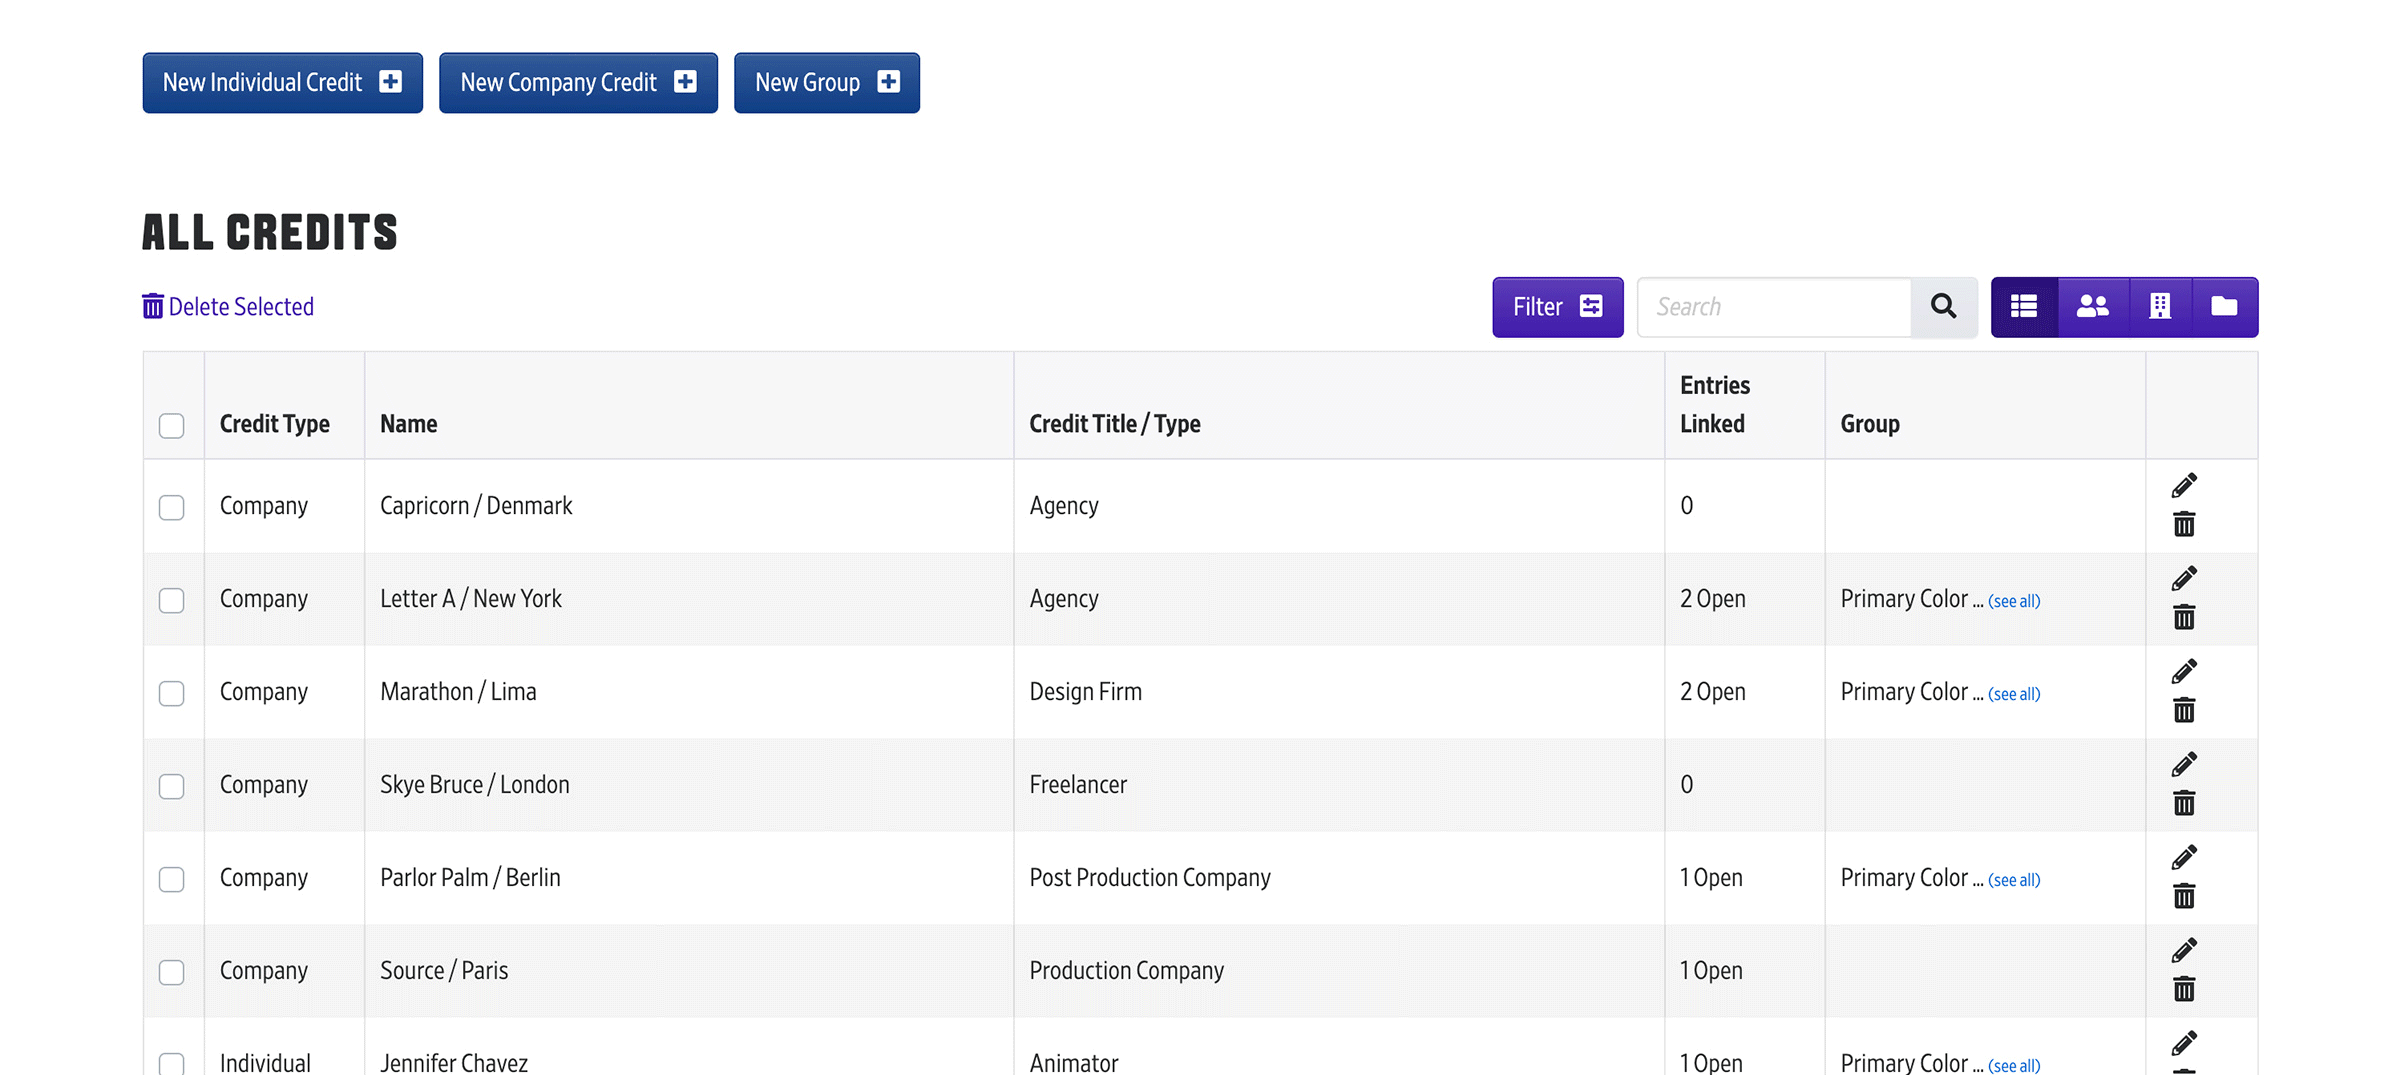
Managing Credits
On your Manage Credits page, you can add the names for Schools and Individual students that worked on the pieces you're entering.
When you're creating or editing an entry, you can select those credits from your account; you will not need to add them manually each time.
- You can add credits in your account and then attach them to entries.
- You can view your credits list by ALL, SCHOOL, or INDIVIDUAL.
- Only the Primary Credit is required to complete an entry. You can close out and submit your entries without adding Secondary or additional credits. These credits can be added or edited any time before the Finalists are announced.
- Credits can be edited in your account and these changes will be reflected on any entries they are attached to.
SCHOOL CREDITS
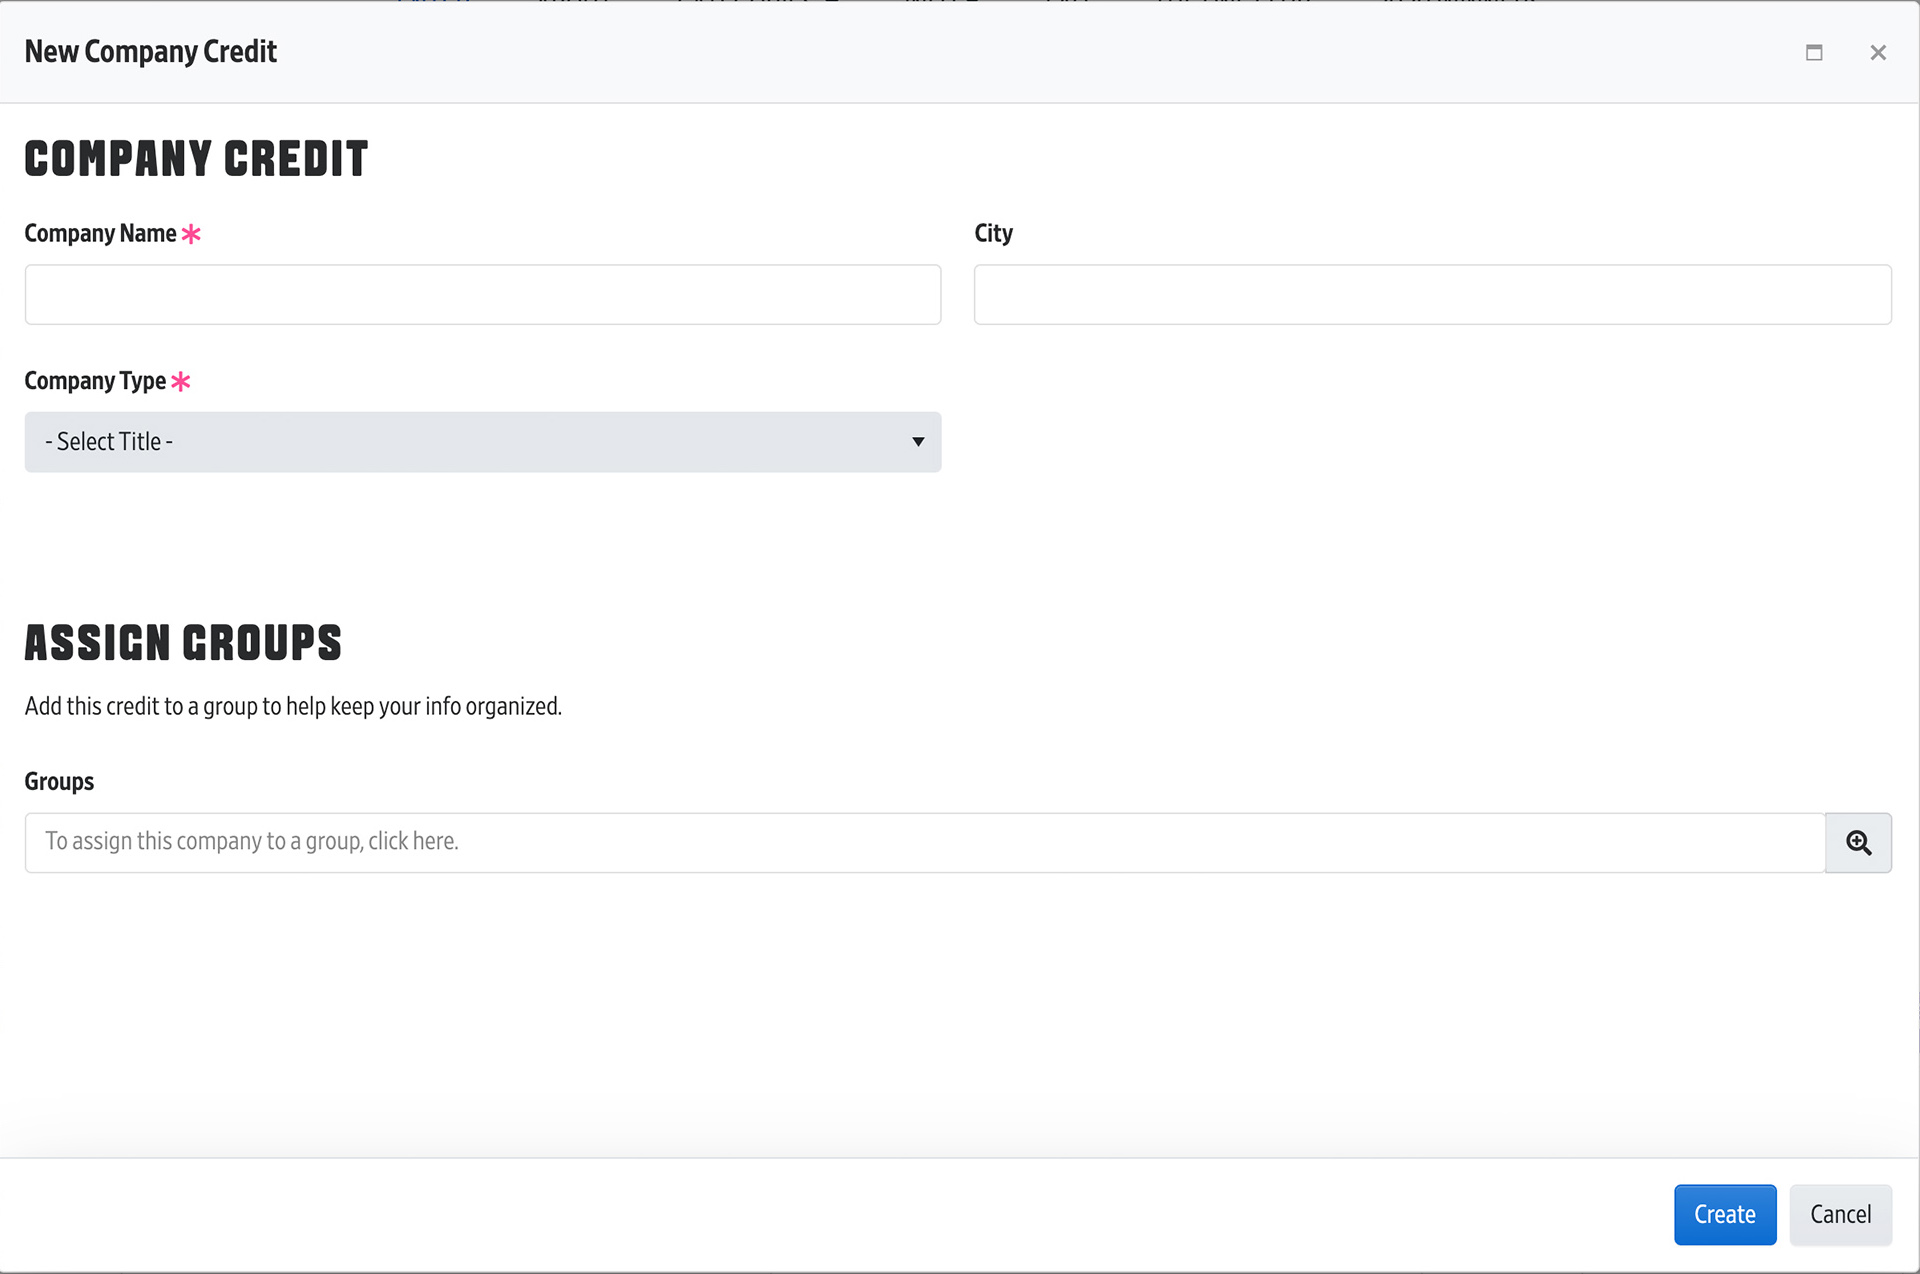
- Schools can be attached to your entry as Primary, Secondary, or in your full credits list.
- School Name and Type are required for each school credit. City is optional, but highly recommended.
- School credits should use a School Type from the list of options. Custom types can be added by selecting "Other".
NOTE: Custom types will not be ranked in College Rankings.
INDIVIDUAL CREDITS
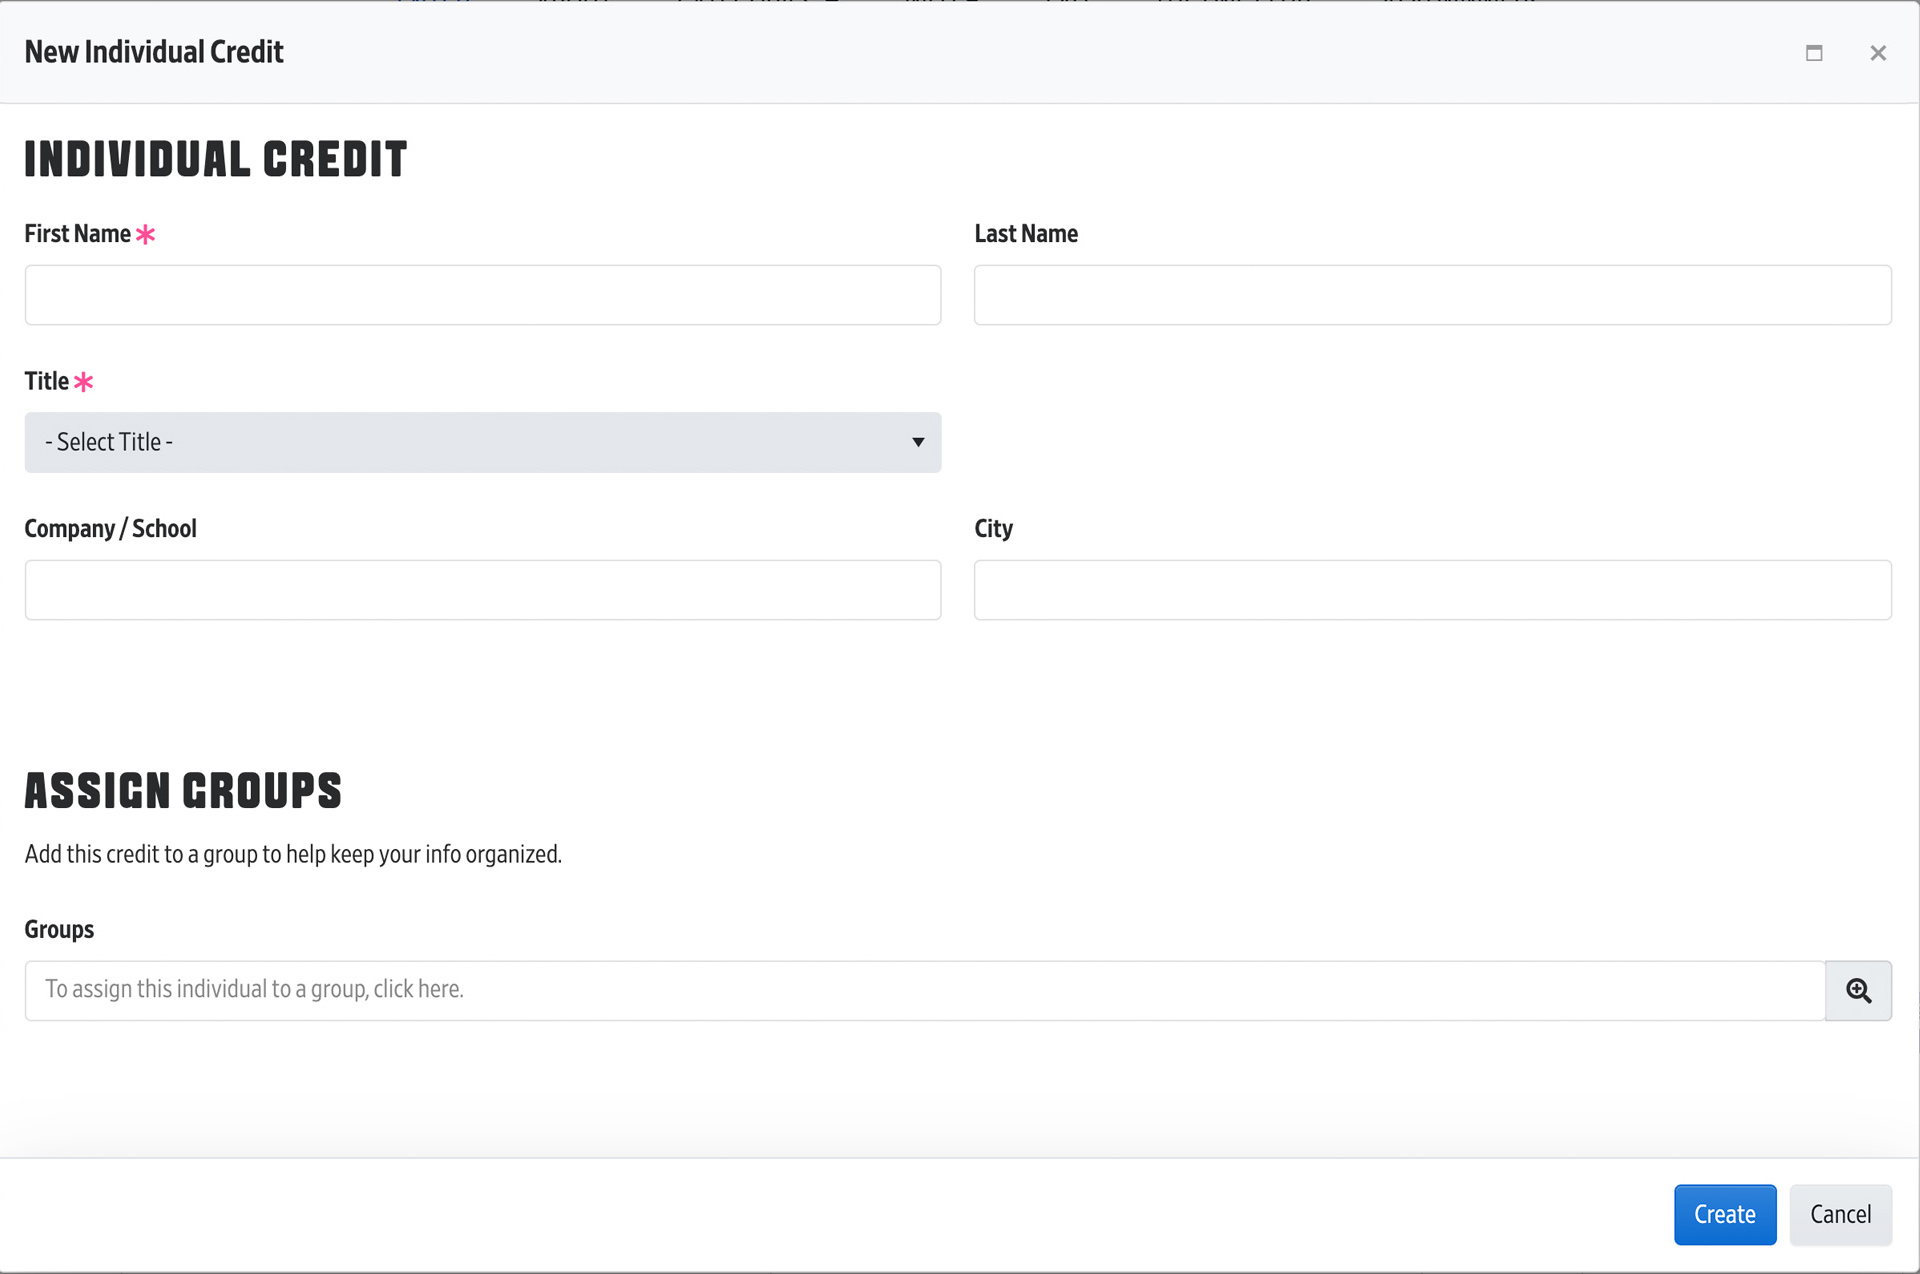
- Individuals can be attached to your entry in your full credits list.
- First Name and Title are required for each individual credit. Last Name is optional, but highly recommended.
NOTE: Do not put First and Last Name in the same field. - Individual credits should use a Title from the list of options. Custom titles can be added by selecting "Other".
NOTE: Custom titles will not be ranked in Student Rankings.
BACK TO TOP


